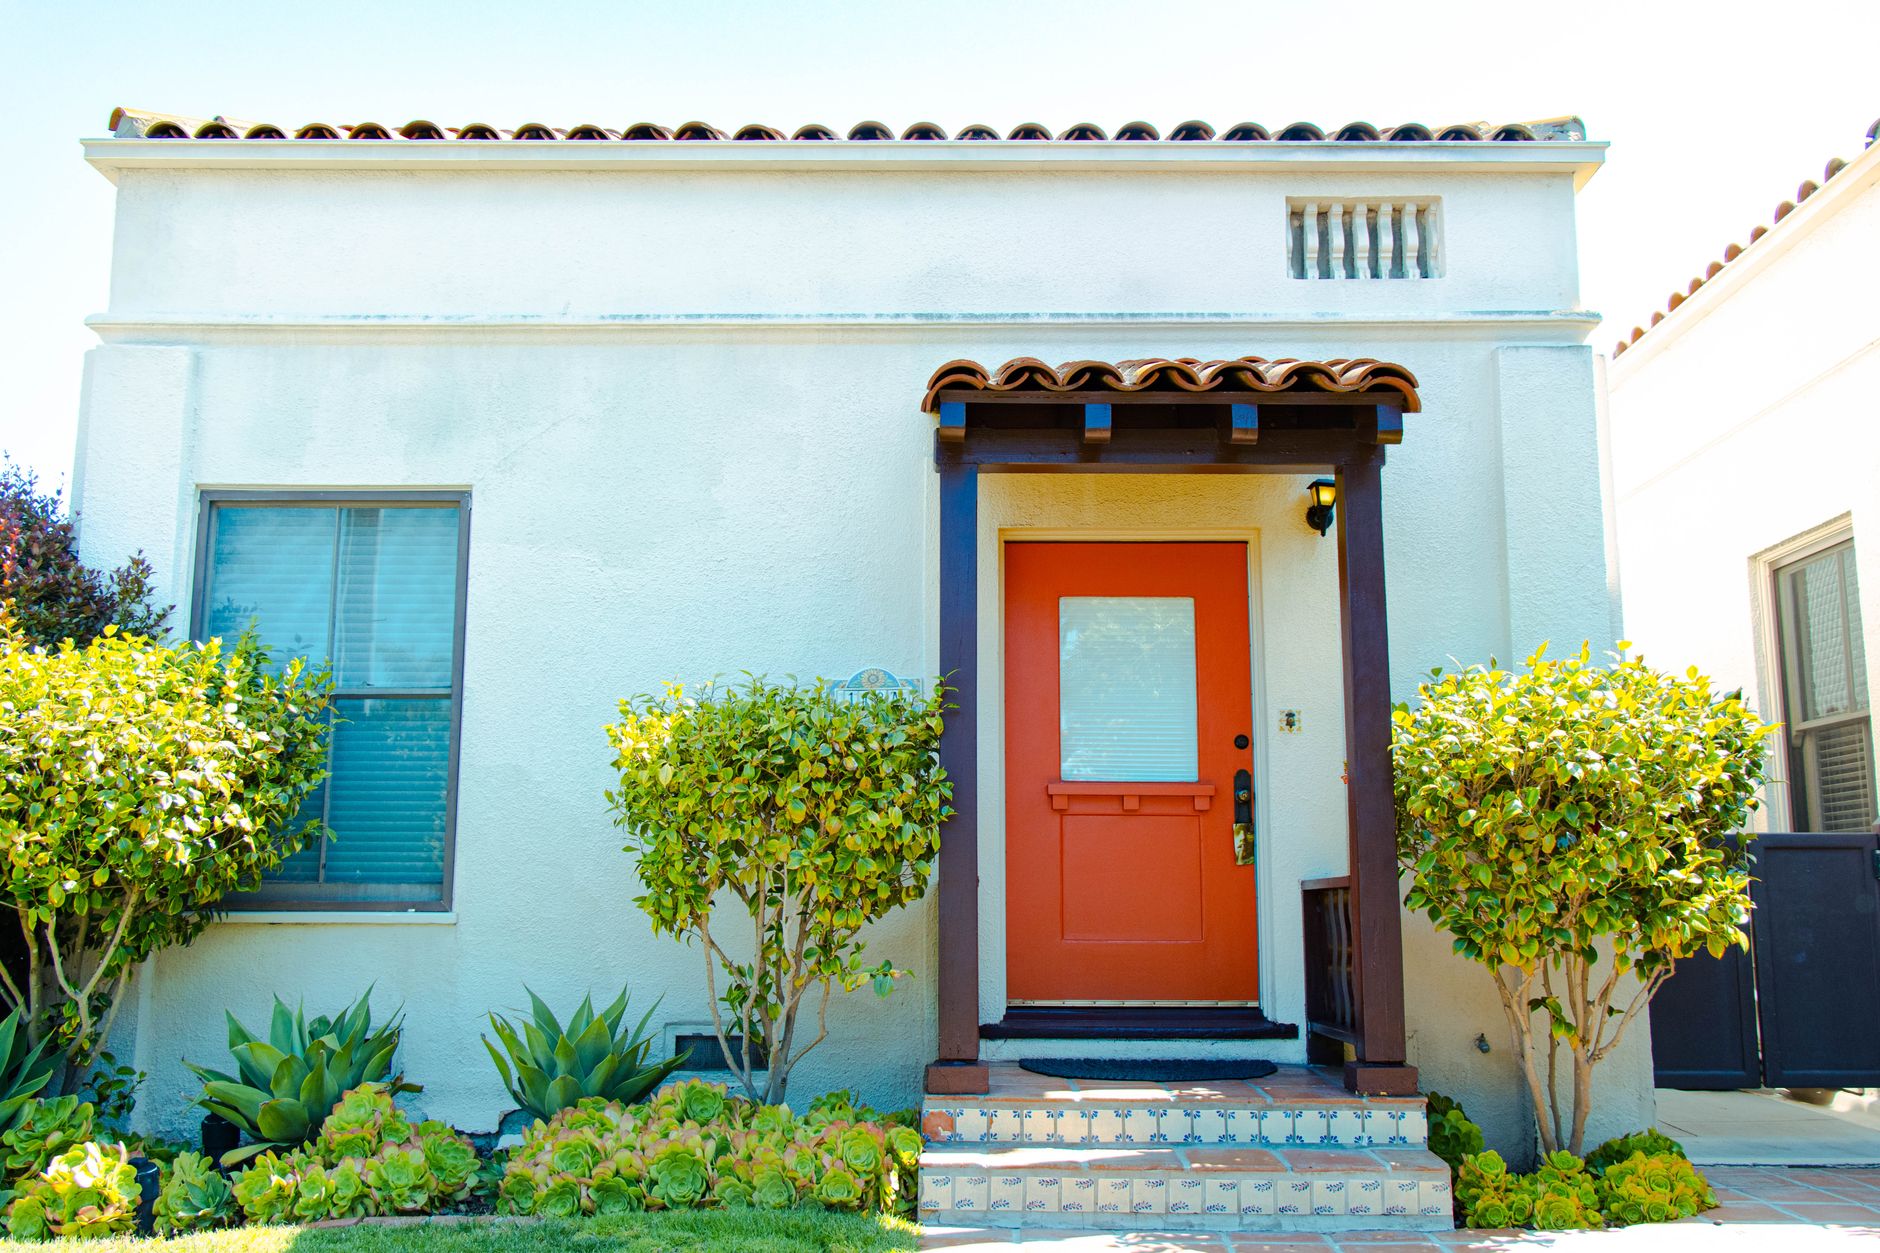
House Painting on Pasadena Craftsman Siding and Trim
Paint on a 1900s Pasadena Craftsman bungalow lasts only as well as the preparation underneath it. A long-lasting exterior job is a sequence rather than a product: identify old coatings and hazards first, cut out rot, wash the wood, prime every bare surface, and build the film in two topcoats. Miss one step and the finish fails within a season, usually starting at the bottom of the wall.
Preparation decides how long the paint holds
Houses in Bungalow Heaven and along the Arroyo Seco were built mostly in the early 1900s, and most have been painted several times since. That history shapes the job. Deep eaves, exposed rafter tails, original wood windows and a lot of narrow trim make the work detail heavy, and the coating history decides what the scraper finds. On blocks near Colorado Boulevard, where the Rose Parade runs every New Year's morning, the street-facing walls take the full afternoon sun.
Test for lead before a scraper comes out
Any house built before 1978 may hold lead in its older layers, and this housing stock is old enough to fall squarely in that window. Test the layers before any sanding, scraping, grinding or heat work, and pay attention to trim, window sills, rafter tails and the lower edges of siding, where coatings tend to be thickest.
If lead is present, dry sanding, open flame burning and high heat stripping are off the table because they turn old paint into dust and fumes. Wet scraping, plastic sheeting spread under the work area and HEPA vacuum cleanup keep chips out of soil and planting beds. Lead is not only a concern when paint is already flaking, and painting over it does not make sanding it safe.
Probe for rot before you plan the paint
Walk the house with an awl and probe trim, sills, rafter tails and the bottom edges of siding boards. Wood that feels soft and spongy is rot. Cut it out and replace it, or consolidate it with epoxy, and let the repair cure fully. Paint does not fix rot, and a new coat over soft wood traps the dampness that caused it in the first place.
Exposed rafter tails and outlookers under deep Craftsman eaves are frequent rot points because their end grain faces the weather. Seal that end grain with primer before topcoating, and treat the repairs as a separate job from the painting.
Wash the house down and let it dry
Dirt, chalk and mildew hold new paint away from the wood. Wash the house before painting and let the wood dry fully. Pressure washing at close range or high pressure gouges soft old wood and drives water deep into it, so use low pressure and allow several days of drying time before anything goes on.
Pasadena's south and west walls take strong sun through hot, dry summers and chalk and fade first, so those elevations deserve the most careful prep. If the house sits in or near the Eaton Fire area, or it took heavy ash and smoke, clean the surfaces thoroughly before anything else. Ash and soot residue interferes with adhesion and can bleed through lighter colors.
Strip to a sound edge and feather what stays
Remove loose and flaking paint down to a sound edge, then feather-sand the ridges so old paint does not telegraph through the new coat. Where a standing ridge of old paint is left in place, the new film bridges it, and the shadow of that ridge shows up later as a defect.
Old redwood and cedar siding and shingles are prized in this housing stock and are worth repairing rather than replacing. Matching profiles are often possible with salvaged boards or custom milled stock, which keeps the original look of the house instead of leaving a field of mismatched replacement.
Priming is what makes the topcoat bond
Bare wood needs a primer suited to it, and redwood and cedar carry tannins that bleed brown stains through light paint colors, so those species take a stain blocking primer. Spot prime every patch of bare wood, every filler repair and every new board. A topcoat alone over bare wood fails early, and a product labelled paint and primer in one is not a substitute for a real primer on bare redwood, cedar or repaired wood.
Work the primer into the laps, the shingle butts, the corner returns and the end grain of every rafter tail, then let it cure according to the label before the first topcoat.
Caulk the joints that leak and leave the rest open
Vertical gaps at trim joints and corners get a paintable exterior sealant. The bottom lap edges of horizontal siding and the lower edges of shingle courses are left open. Those gaps exist to let moisture escape, and sealing them can trap water behind the boards. Caulking every gap on a house is not what makes it weatherproof.
Choosing the topcoat for Pasadena sun
A quality exterior acrylic latex topcoat over properly primed wood stays flexible as wood expands and contracts with the large temperature swings between hot afternoons and cooler nights near the San Gabriel Mountains. Two topcoats give far better coverage, UV resistance and film thickness than one, especially on the sun exposed walls.
Sheen follows the surface
Flat or low sheen on siding and shingles hides the irregularities of old wood. Satin or semi gloss on trim, doors and sills sheds water and wipes clean more easily.
Dark Craftsman colors need the right product
Deep, dark colors absorb more heat in strong sun, which increases wood movement and fading. The dark earthy tones typical of Craftsman palettes are worth keeping, but choose products rated for exterior dark colors, and expect the sunny sides to need refreshing sooner than the shaded ones.
Getting paint into the laps and butts
Brush or back brush the paint into shingles, rough sawn trim and siding laps. Spray alone often skips the undersides of laps and shingle butts, which is exactly where water gets in. Spraying is not always faster or better on shingles and textured wood, and on a house with this much trim, hand work is what puts the film where it needs to be.
Plan the order around the details. Work the lap bottoms, the rafter tail end grain, the corner returns, the window casings and the sills first, then the broad fields. On a broken, busy surface like this one, the details decide whether water finds a way in.
Painting around wind, dew and desert heat
Paint on a day with dry surfaces and moderate temperatures, following the product label for its temperature range, and avoid painting a wall that sits in direct midday summer sun where the finish can dry too fast, lap or blister.
Santa Ana wind days
Hot, dry gusts dry paint too quickly and blow dust and debris onto wet surfaces, so leave those days alone.
Marine layer mornings
On late spring mornings the marine layer brings dew. Wait until the dew has burned off and the wood is dry to the touch before starting, and stop early enough that the paint can set before evening moisture returns.
Maintenance that makes the next repaint short
Trim back shrubs and vines at least a short distance from the walls and keep sprinklers from wetting the siding. Constant irrigation spray is a leading cause of peeling at the base of walls in an otherwise dry climate, and a dry summer does not mean moisture problems stay away.
Check the gutters and downspouts before painting. Overflowing gutters soak the fascia and siding and will peel new paint within a season or two.
After the job, inspect the sills, the rafter tails and the lowest siding boards each year and touch up small cracks early. Small repairs prevent the larger stripping and rot work that turns a simple repaint into a rebuild.
What a finished house looks like
A craftsman bungalow in Pasadena that is prepped this way holds its finish because nothing is being asked of the paint that the wood cannot deliver. The rot is out, the lead question is answered, the bare surfaces are primed, the joints that leak are sealed, the joints that vent are open, and the film is thick enough to block the sun.
The payoff shows up a few years later, when the sills and the lowest boards are checked again and the touch-ups are still small. That is the difference between a repaint and a rebuild, and it is decided in the prep days, not on the day the paint goes on.